A couple years back, tutus became very popular! I bought my little girl a couple here and there from various kids’ clothing stores that I frequented…mostly ones on sale. Then, I was introduced to Etsy, an online site where you can buy and sell handmade items or supplies so you can get crafty. I started seeing a lot of people selling handmade tutus on Etsy and they were expensive…some were selling theirs for as much as $50!
At first, I thought to myself, “I’m sure I could make tutus and make a nice chunk of change like all of these people.” I proceeded with a Google search to see how to make these adorable tutu skirts so girls all over could look like the princesses/ballerinas they dreamed of being. There are a few different ways to do them and I gathered the info I needed from videos on YouTube.
Then, reality (and chaos) smacked me upside the head. I didn’t have time to be churning out these tutus! They’re not terribly time-consuming or difficult but the thought of orders coming in and the pressure of filling them got the better of me. I could certainly make them for special girls in my life though!
My first tutus were for my dear friends’ daughters for Christmas. I didn’t want to just make them tutus though so I made them shirts to go with them 🙂


Next up, a tutu for my special girl 🙂 The NY Giants were in the playoffs and she needed a tutu to show off her team spirit! This tutu was also worn for their Super Bowl win and extra-added bonus…she can wear it for 4th of July.

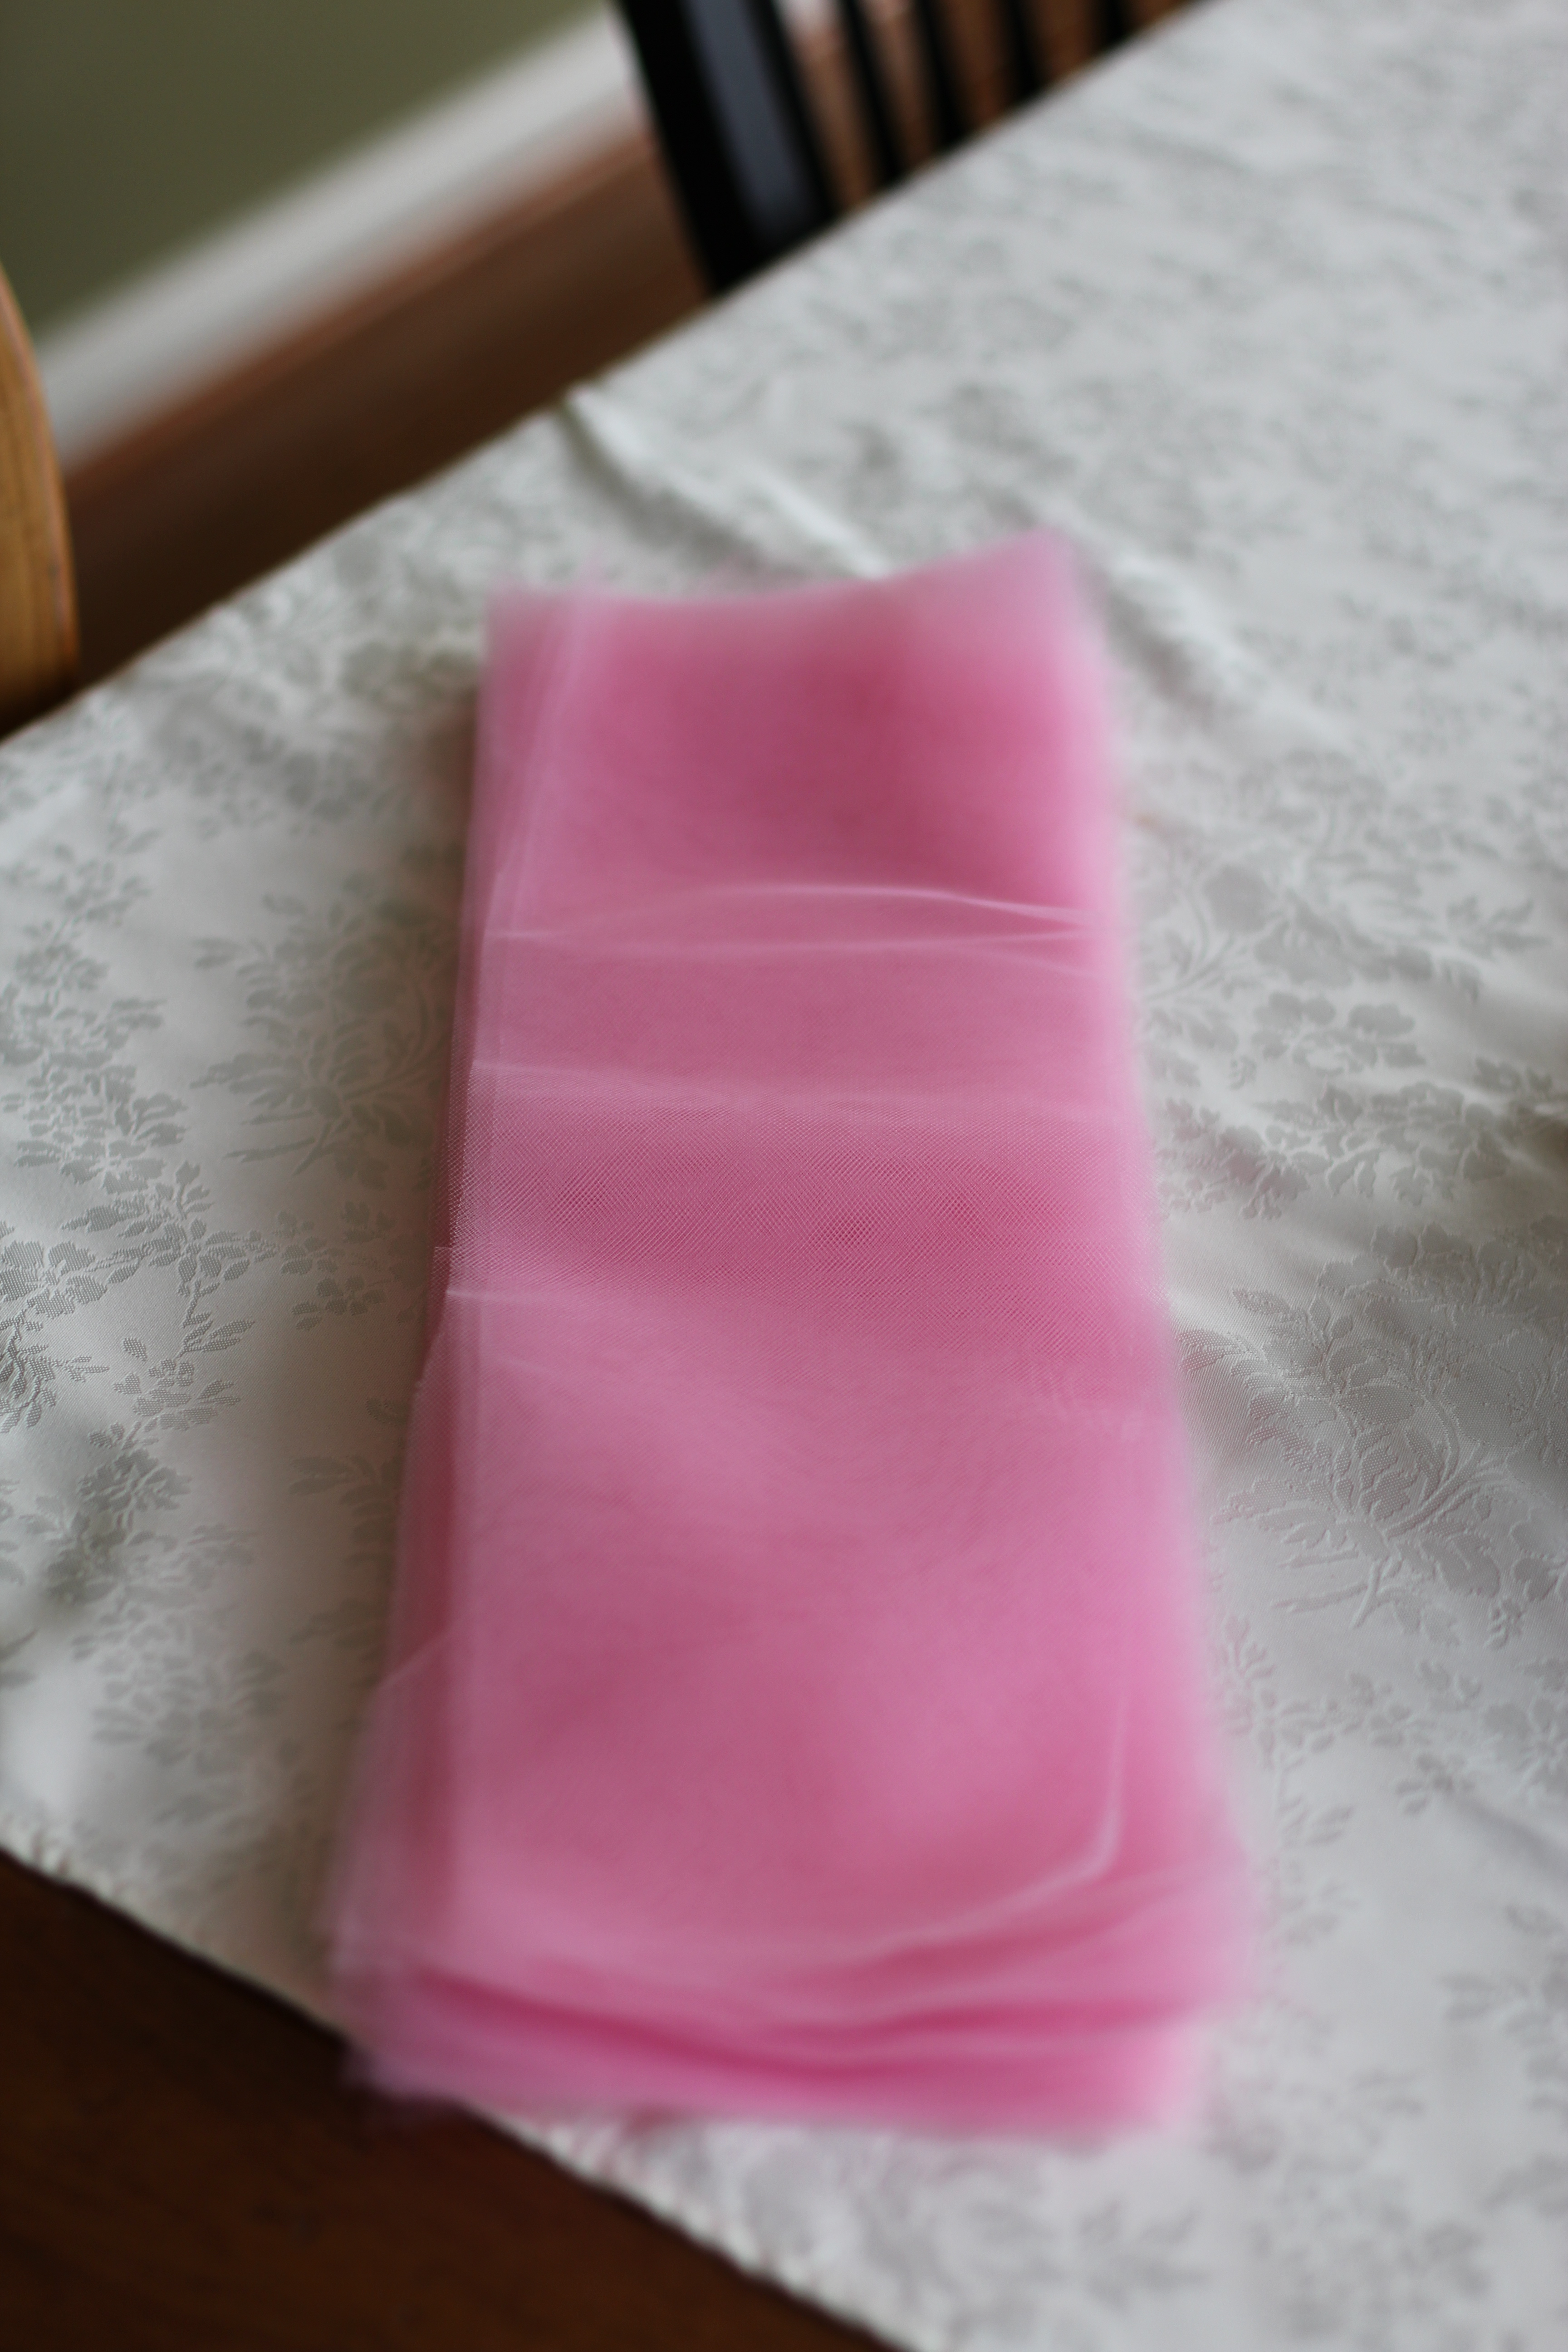
Would you like to know how to make a tutu for the special little girl in your life? Next up, is an Easter tutu for my daughter, and I’ll show you how!
Supplies: (I purchase my supplies from fabric.com…they have a great selection and really good prices)
- tulle (I purchase the 6″ wide spools that fabric.com sells…these will make your tutu making experience sooooo much easier)
- elastic (mine is 3/4″ no-roll; you can go up to 1″ but I wouldn’t do any wider than that)
- good, sharp scissors
- cardboard cut to your desired length (you’ll see…)
- needle & thread (don’t worry…there is just a smidge of sewing)
- 2 rubber bands or large hair elastics (has to fit around the cardboard)

How-To:
- Decide on the length of your tutu and then double that. For my 5 1/2 yr. old daughter, I wanted the skirt to be roughly 10″ and for my friends’ girls, who at the time were 2 and 4, I did tutus that were about 9″.
- Get yourself a sturdy piece of cardboard that is at least 8″ wide and cut it to double the length you want the finished tutu.
- Take a roll of tulle and wrap, wrap, wrap it around the cardboard. Don’t wrap too snugly because you want to be able to slip your scissors in easily. Just do the whole roll. If you have extra, you can store it in a bag labeled with the length for future tutus!

- Place a rubber band around each end of the cardboard so that the tulle is held securely in place.

- Cut through all the layers at each end. Make sure not to pull up as you’re cutting or your tulle will come out different lengths (if they are slightly different it’s not going to be noticeable so don’t stress too much).

- Voila! A bunch of strips of tulle cut with a couple easy steps! I cannot take credit for this great trick…I saw it on YouTube. I wish I could remember where so I could give credit 😦
- Cut your elastic to the size you need. Either wrap it around the intended recipient and allow for slight overlap to sew it into a circle or measure the girl’s waist and cut to length, adding a bit for overlap.
- Sew the ends of the elastic together to form a waistband.

- Place the elastic around your thigh. Yup. This is the easiest way to keep it somewhat still while you get all your tulle on.
- Take a piece of tulle and kind of gather it and fold it in half so you have a loop on one end. You’re going to be making a slip knot around the elastic.

- Place the piece of tulle under the elastic with the loop facing you.
- Wrap the ends over the elastic and pull through the loop.


- Pull snug!

- Continue along your merry way 🙂 The closer together you put the tulle, the fuller your tutu will be.
Use one color…2…5…team colors, holiday colors…the possibilities for cuteness are endless!


Love!!! Can’t wait to see the Easter outfit on your pretty girl!!
Reblogged this on A Pearl's Life and commented:
I’ve been bugging my designer friend for a long time already to make a tutu skirt for my daughter. Well, I guess I don’t need to bug him anymore this time! I’m so happy I found this blog.
Glad you found it 🙂 I was happy when I found a tutorial on YouTube and saw how simple it was!
Sorry…this is replying under my new blog 😉
At Fabrics.com I only saw the option for 108″ or 54″, not the 6″ you mentioned, am I missing something? Thanks for your help!!! Looking forward to trying to make one for my little one.
@lilipinoeater So happy you found the tutorial and you’re going to give it a try! I’m sure your little one will love it 🙂 Yes, go to http://www.fabric.com and in the search bar, search “tulle spool” and all of their spools that are 6″. The specialty ones are usually 6″x10yds and then the plain tulle is 6″x25yds.