Under the Sea 6th Birthday Party

After a little over two months, I’d say it’s high time for a blog entry!!!  I blame the sparseness of my entries on the “chaos”!  Let’s see if I even remember how to do this 😉

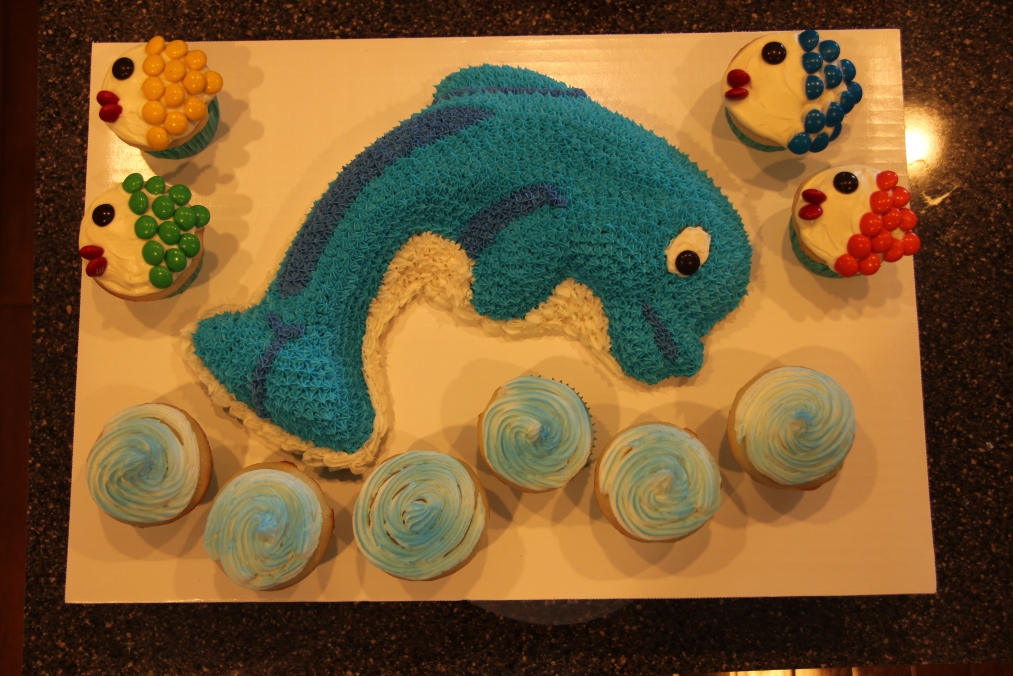
My daughter just celebrated her 6th birthday and I was hoping she’d pick a fun theme.  She’s been into ocean life lately so it was easy to persuade her to do an Under the Sea theme…nice and summery!  I found and bought her party supplies through Birthday Express, a site I use often for the kids’ birthdays.  I also ordered her cake pan through Amazon.  Then, I proceeded to order favors from Birthday Express and Oriental Trading Co.  I was very excited because I hadn’t really had the opportunity to go all out for one of Hannah’s parties.  Either I was pregnant or had an infant or I just wasn’t into cake-making yet…so this was gonna be the one to do it!

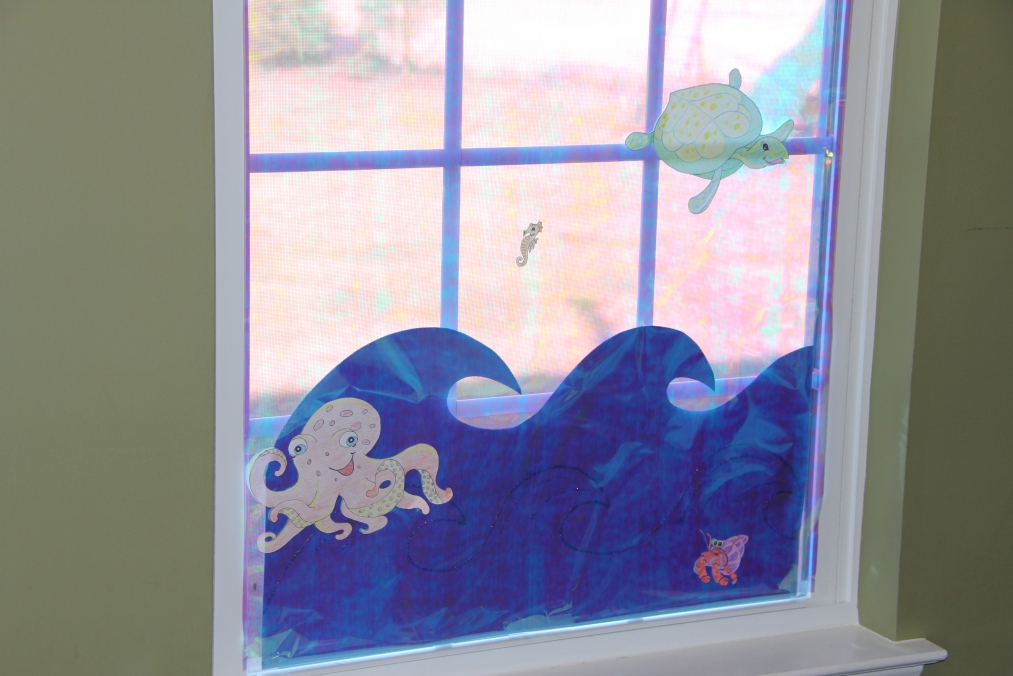
As I was planning her party, I decided I wanted some fun decorations but I had already ordered all of her stuff and there wasn’t enough time to order more decorations (I had just ordered some balloons and a small centerpiece).  The idea was born to turn our morning room into the ocean and I made the decorations.

I took as many pictures as possible but the ones of the decorations didn’t really do them justice.  The cake was the most difficult I’ve done.  Not as many colors as others but it wasn’t a Wilton pan so I didn’t really have pictures of sample cakes to guide me, which Wilton has on the label of the cake pan.  The cake pan was also small so I made cupcakes and Sand…we’ll get to that 🙂

O.K., onto pictures, instructions and recipes!  I hope it inspires some creative party-throwing!

ImageImageImage

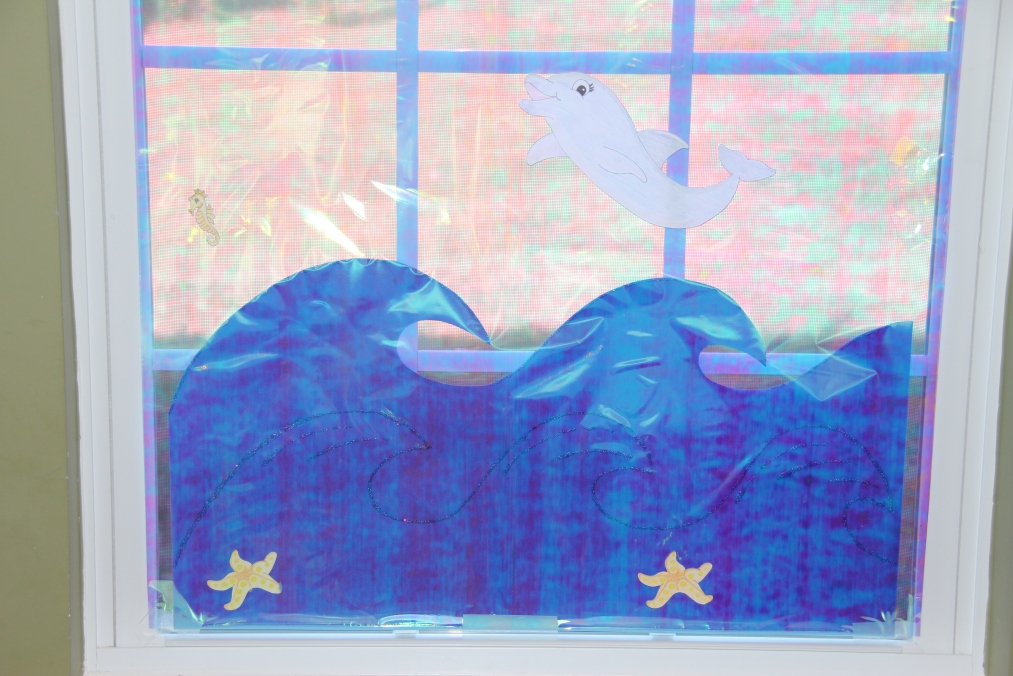
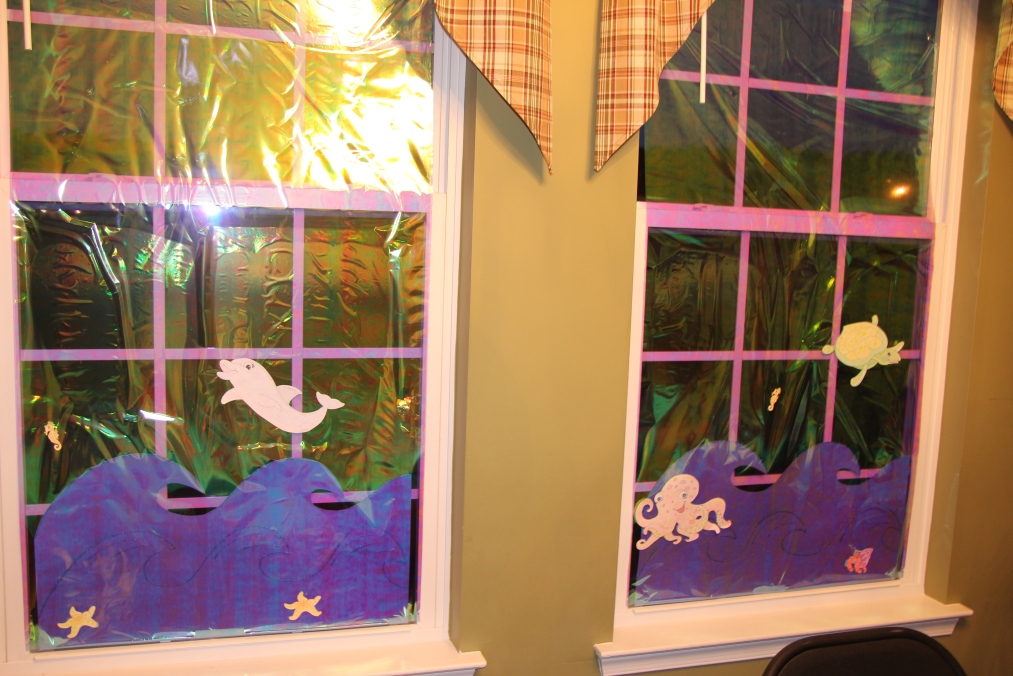
I drew and colored in the sea animals to coordinate with her theme (except for the starfish because I’m horrible at drawing stars, the seahorses and the hermit crab…I traced those).  Then, I drew waves on oaktag and cut it out and drew a second set of waves below them and outlined in blue glitter glue.  I taped the waves to the windows, covered in blue iridescent cellophane (like you wrap gift baskets in), and then used double-sided sticky dots to attach the animals on top of the cellophane.  The cellophane gave the room a bit of a blue effect when the sun was shining through 🙂

ImageImage

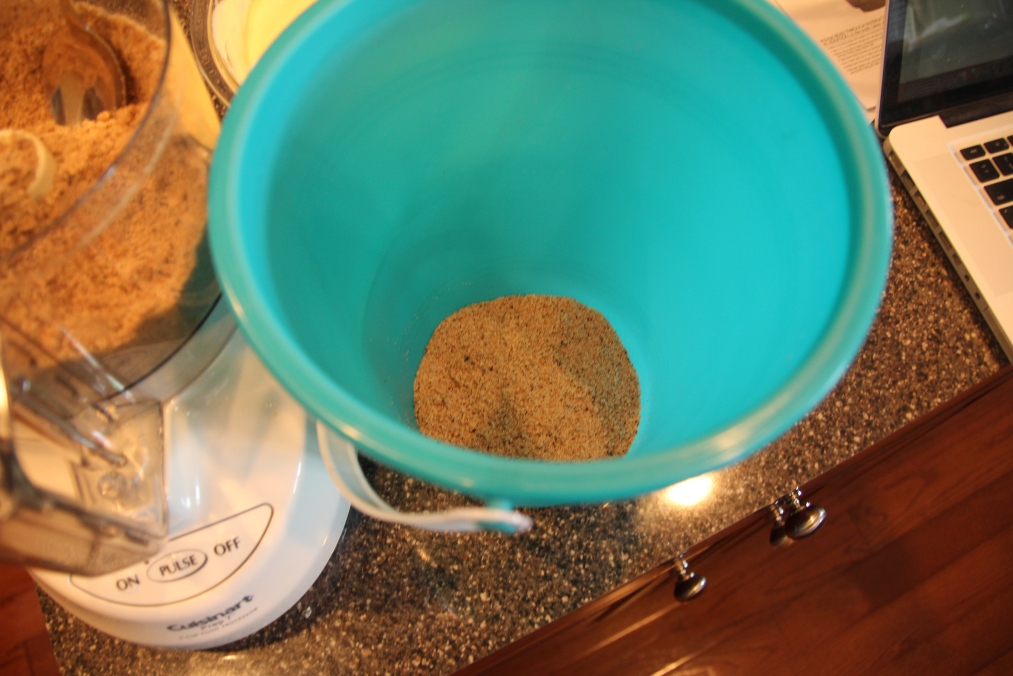
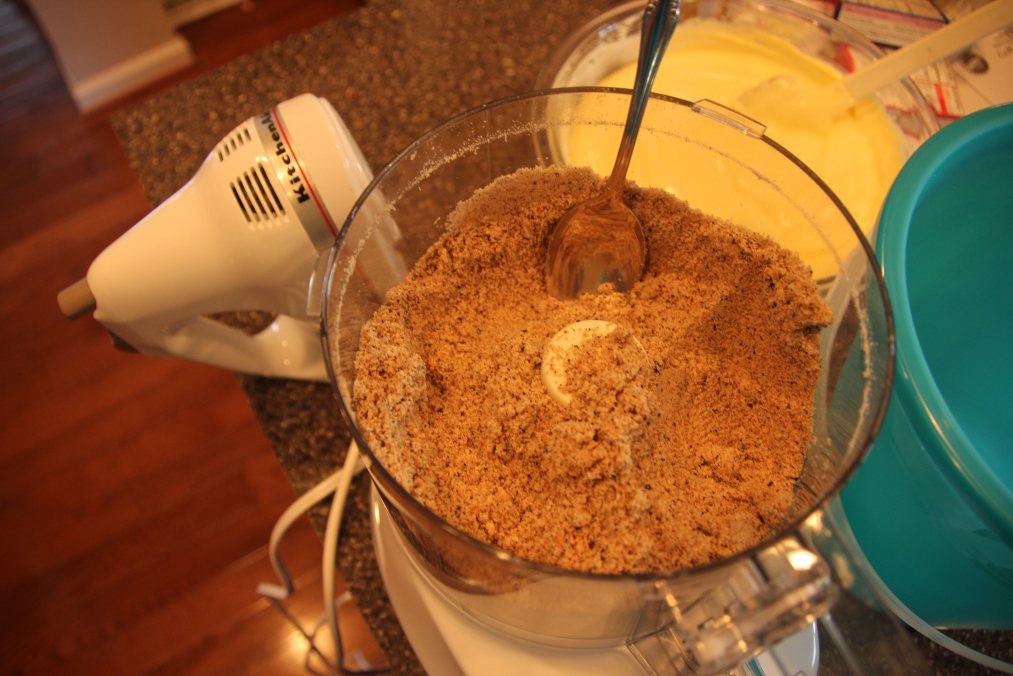
The sand dessert – complete with bucket and shovel to serve it with!  You wouldn’t believe how much this looks like sand!!!  I got the idea/recipe from here.  It was absolutely delicious and sinful and the only thing I would change next time is to omit the half stick of butter…I’m not quite sure what purpose it served and I think it would be just as sinful and delicious without.

1 pkg Vanilla Wafers
3 or 4 Oreos
8 oz Cream Cheese
1/4 C Butter
2/3 C powdered sugar
2 small pkgs French Vanilla pudding mix
2 3/4 C Milk
12 oz Cool Whip

Crush Oreos and Vanilla Wafers in a food processor.  In a separate bowl, cream together softened 8 oz cream cheese, butter, and powdered sugar. In another bowl, mix pudding with milk.  Add to cream cheese mixture.  Fold in cool whip.  Layer into buckets with sand, pudding, sand etc.

Image

For the cake and cupcakes, I used a recipe from here.  I always use this cake recipe now…it is sooooo good and I always get compliments on it!  I got the idea for the fish cupcakes on Pinterest.  You can find the instructions here.  I did not dye my frosting to match the M&Ms because, well, I was just sick of dying frosting after the cake!

My daughter had a great time and that made me so happy 🙂
Let Them Eat Cake!

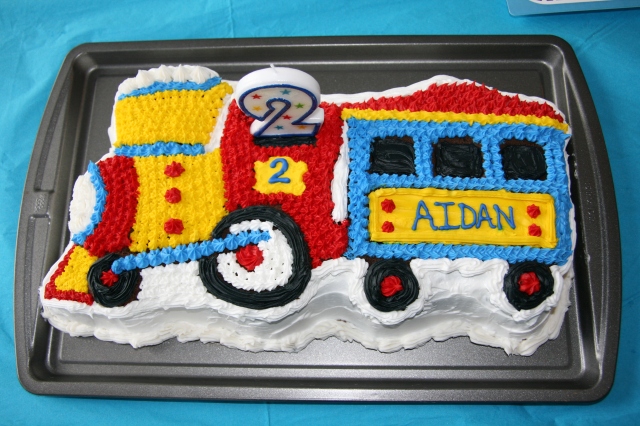
For my son’s 2nd birthday, I decided to try my hand at using a Wilton shaped cake pan.  Not sure why it was this particular birthday that made me decide to do this but he had a thing for trains and that was the theme so I was going with it!  I had seen a couple people do it for their kids and figured, “I can do that!”

I wasn’t going to make things more difficult on myself and try to make a cake from scratch so I just used a boxed cake mix.  I also purchased Wilton Ready-to-Use Decorator Icing and gel icing colors.  I also recently started using the icing tubes if I need a deep color like red or black.  I have made a couple cakes since my son’s train cake and even ventured into one involving cupcakes and a small round cake and a semi-homemade one that was so moist and delicious!

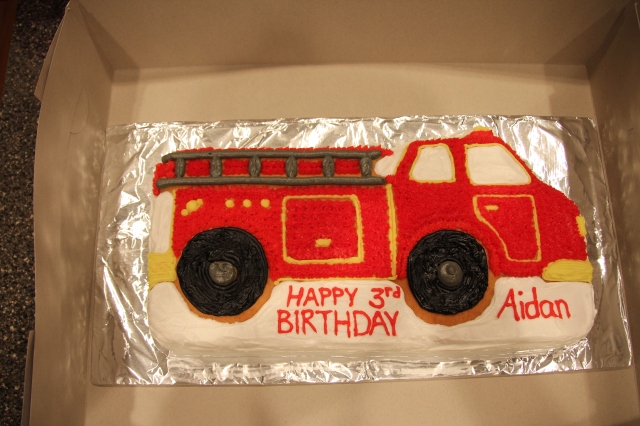
I don’t have any “during” pictures but enjoy the pictures of the results 🙂  I hope they inspire you to try some cakes for your special someone(s)!

My first cake!


Cake I made for a friend's baby shower


This is the cake using the delicious semi-homemade batter.


Hungry Caterpillar for a special girl in my life 🙂


Salted Caramel Sauce

It’s been quite awhile since I’ve made this sauce and I don’t know why because it’s pretty simple and so sinfully delicious!  Folks, I’d eat this off a shoe!  Alright, it would have to be a very clean shoe, but you get the point.  I think I originally searched for a caramel recipe because I had some extra heavy cream in the fridge from a vodka sauce and I wanted to use it up.  I looked through a few different recipes and came across this one from Yummy Supper.  I liked that I had all of the ingredients on-hand (other recipes I saw called for corn syrup, which I didn’t have, or made the idea of cooking the sugar seem daunting) and her pictures really drew me in.

I didn’t want to have to pull out a thermometer or have the fear in the back of my mind that I was going to have a burnt sugar mess on my hands.  This recipe is relatively simple though and can be used in so many ways!  Yes, you do have to stand over the stove and keep an eye on it but it won’t be long before you have homemade salted caramel sauce.  I’m making a batch right after I’m done writing this 🙂

Ingredients  adapted from Joy of Cooking

  • 1 cup sugar
  • 1/4 cup water
  • 8 tablespoons unsalted butter, cut into pieces
  • 1/2 cup heavy cream (I have used light cream in the past and it works out fine)
  • 2 teaspoons vanilla
  • pinch of salt (you can add salt to taste…I add more because I like a salted caramel)

Place sugar in a small heavy sauce pan.  Pour water evenly over the top.  Turn stove top to medium-high heat.  Hold sauce pan by the handle and swirl occasionally until sugar has dissolved (watch carefully because it must be completely dissolved and you don’t want it to burn while it’s dissolving).  Cover pan, turn heat to high, and boil for 2 minutes.  Remove lid and continue to boil until syrup turns brown around the edges of the pan.  Grab the handle and swirl syrup occasionally until it turns a deep amber and begins to smoke (be gentle, folks…melted sugar is HOT).

Remove pan from heat. Add butter. Gently whisk, until all of the butter is mixed in.

Stir in cream.

If sauce becomes lumpy, set pan over low heat and stir until smooth then turn off heat again.  Don’t be upset if the sauce becomes lumpy – it’s happened to me every time.

Stir in vanilla and salt.  

Enjoy on shoe*, ice cream, brownies, I’ve drizzled it over chocolate chip bread pudding, stir it into a cup of hot cocoa, or just eat it off a spoon!

*Disclaimer: Please don’t eat off of a shoe 🙂